Step-by-Step Instructions
Step 1: Prepare and Bake the Crust
ADVERTISEMENT
Preheat your oven to 350°F (175°C). Line an 8×8-inch baking pan with parchment paper for easy removal.
In a medium mixing bowl, combine the flour, sugar, and salt. Add the cold butter cubes and use a pastry cutter or your fingertips to work the mixture into coarse crumbs.
Press the mixture evenly into the prepared pan.
ADVERTISEMENT
Bake for 18–22 minutes, or until the crust turns lightly golden around the edges.
Remove from the oven and allow it to cool completely.
Step 2: Create the Custard Base
In a medium saucepan, whisk together the granulated sugar and cornstarch.
Slowly add the milk while whisking continuously to prevent lumps from forming.
Add the egg yolks and continue whisking until the mixture becomes smooth and fully combined.
Step 3: Cook the Custard
Place the saucepan over medium heat.
Cook while stirring constantly, making sure to scrape the bottom and sides of the pan.
After approximately 5–7 minutes, the mixture will begin to thicken into a smooth, rich custard.
Continue stirring until the custard reaches a thick, pudding-like consistency.
Step 4: Finish the Filling
Remove the custard from the heat.
Immediately stir in the butter, vanilla extract, and pinch of salt until fully incorporated.
The result should be a glossy, silky custard with a rich vanilla aroma.
Step 5: Assemble the Dessert
Pour the warm custard over the cooled crust.
Use a spatula to spread the filling evenly across the surface.
Smooth the top for a clean, professional appearance.
Step 6: Chill Until Set
Transfer the pan to the refrigerator.
Chill for at least 1 hour, although 2–3 hours is recommended for the cleanest slices.
As the custard cools, it will firm up while maintaining its creamy texture.
Step 7: Slice and Serve
Once fully set, lift the dessert from the pan using the parchment paper.
Cut into neat squares using a sharp knife.
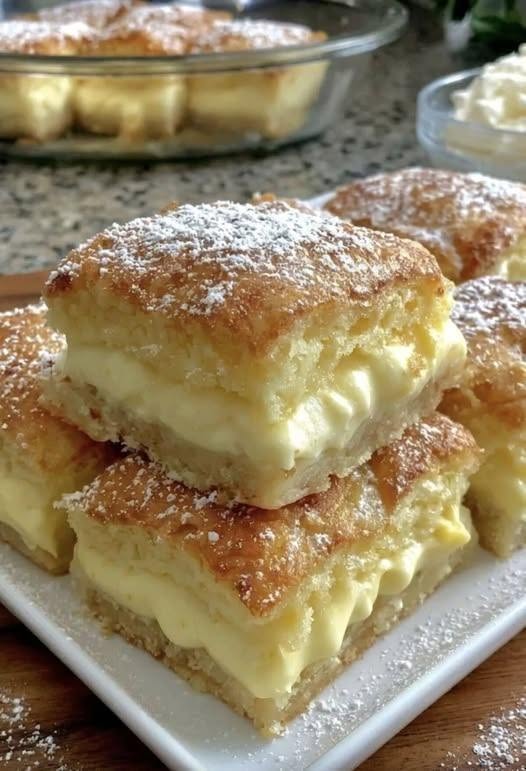
For an elegant finishing touch, lightly dust with powdered sugar just before serving.
Tips for Perfect Custard Squares
Use Whole Milk
Whole milk creates the richest, creamiest texture.
Stir Constantly
Continuous stirring prevents lumps and ensures a silky-smooth custard.
Chill Thoroughly
Allowing adequate chilling time helps the custard set properly and makes slicing easier.
Add Extra Flavor
Try adding a touch of lemon zest, almond extract, or a sprinkle of cinnamon for a unique variation.
Storage Instructions
Store Vanilla Custard Cream Squares in an airtight container in the refrigerator for up to 4 days.
Because of the custard filling, refrigeration is recommended at all times.
Frequently Asked Questions
Can I make these Vanilla Custard Squares ahead of time?
Yes. In fact, they taste even better after chilling for several hours, making them an excellent make-ahead dessert.
Why is cornstarch used in the custard?
Cornstarch helps thicken the filling, allowing it to hold its shape while remaining smooth and creamy.
Can I freeze custard squares?
Freezing is not recommended, as the custard texture may become grainy when thawed.
What can I serve with Vanilla Custard Squares?
They pair beautifully with coffee, tea, fresh berries, or a dollop of whipped cream.
Final Thoughts
These Vanilla Custard Cream Squares are proof that simple ingredients can create an unforgettable dessert. The combination of a buttery crust and luscious vanilla custard makes them a timeless treat that’s perfect for any occasion.
Whether you’re baking for guests or simply satisfying a sweet craving, this easy custard dessert recipe is sure to become a favorite in your collection.
ADVERTISEMENT